How to Create Your First Web42 Agent
Create your first Web42 agent, import a small set of pages, and prepare a clean base for components and tours.
If you are getting started with Web42 and you are not sure where to begin, this is the right first step.
In this guide, you will create your first project, import your website, and keep the first scan small so you can understand the workflow before scaling it.
The benefit is simple: once your first pages are inside Web42, you can start building useful components and tours instead of guessing.
What you will do
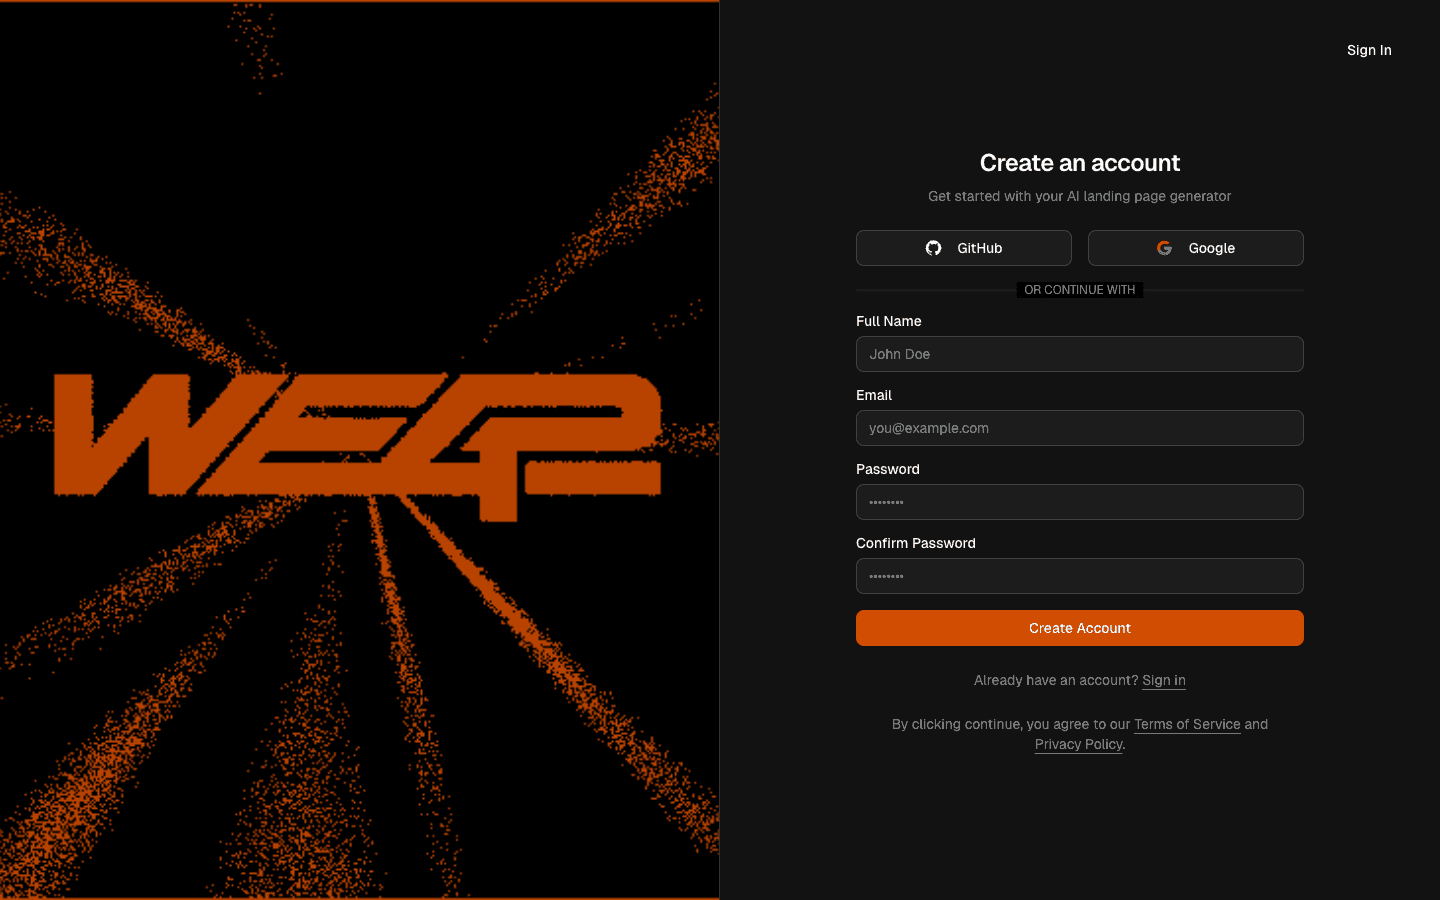
Create or sign in to your Web42 account
Start a project by importing your website
Scan a small number of pages first
Confirm your project is ready for component setup
Step-by-step
Open Web42 and sign in (or create your account).
Why this helps: this anchors all your work to one workspace so your team can collaborate in the same project.
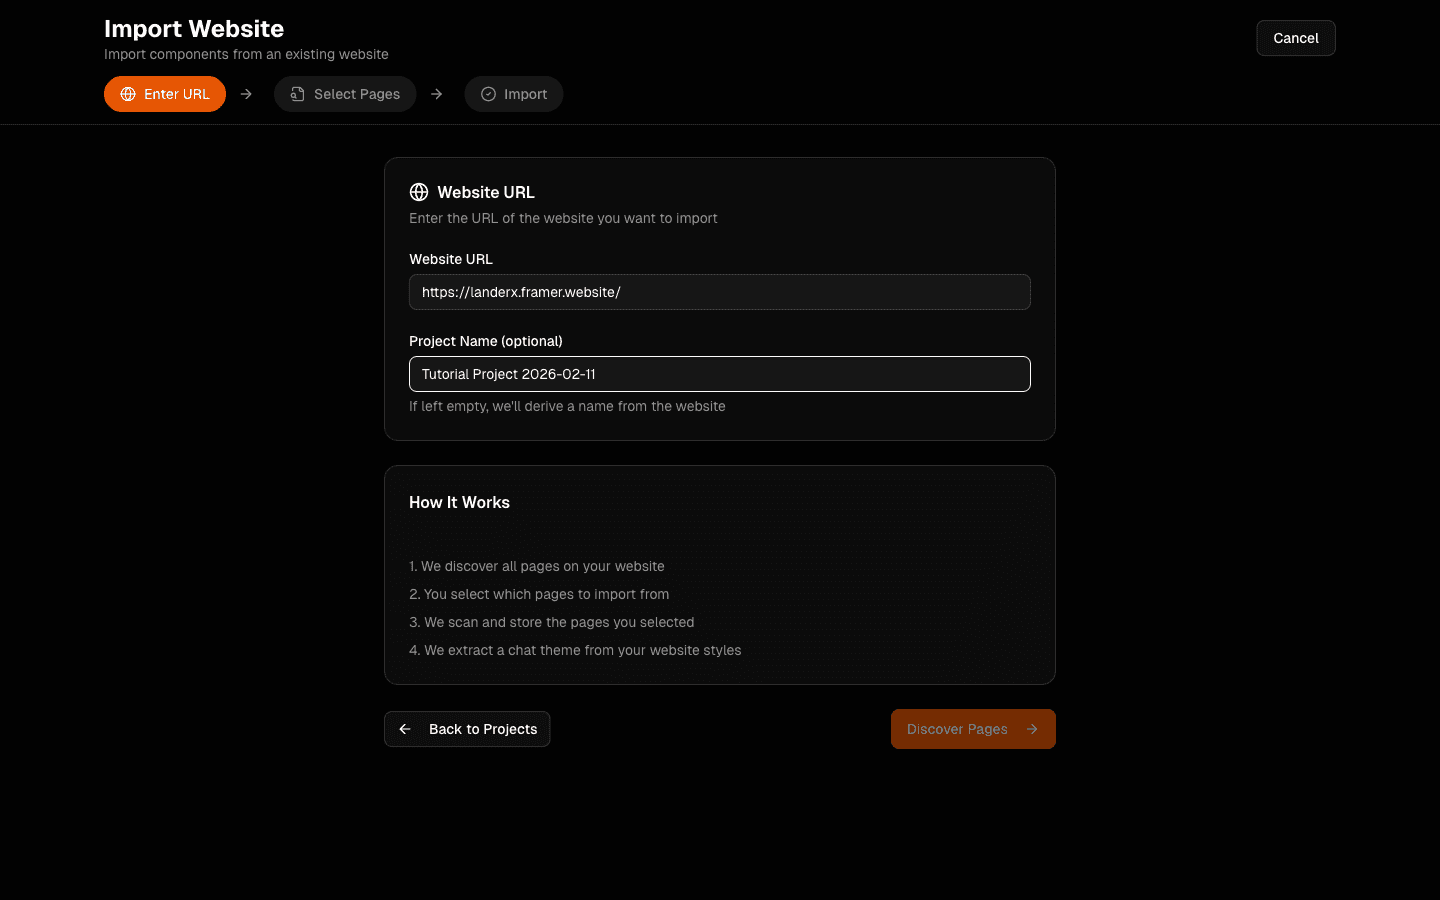
Click Import Website and create a new project.
Use your site URL (example:
https://landerx.framer.website/) and set a clear project name.Why this helps: a clear project baseline makes all later tutorials easier to follow.
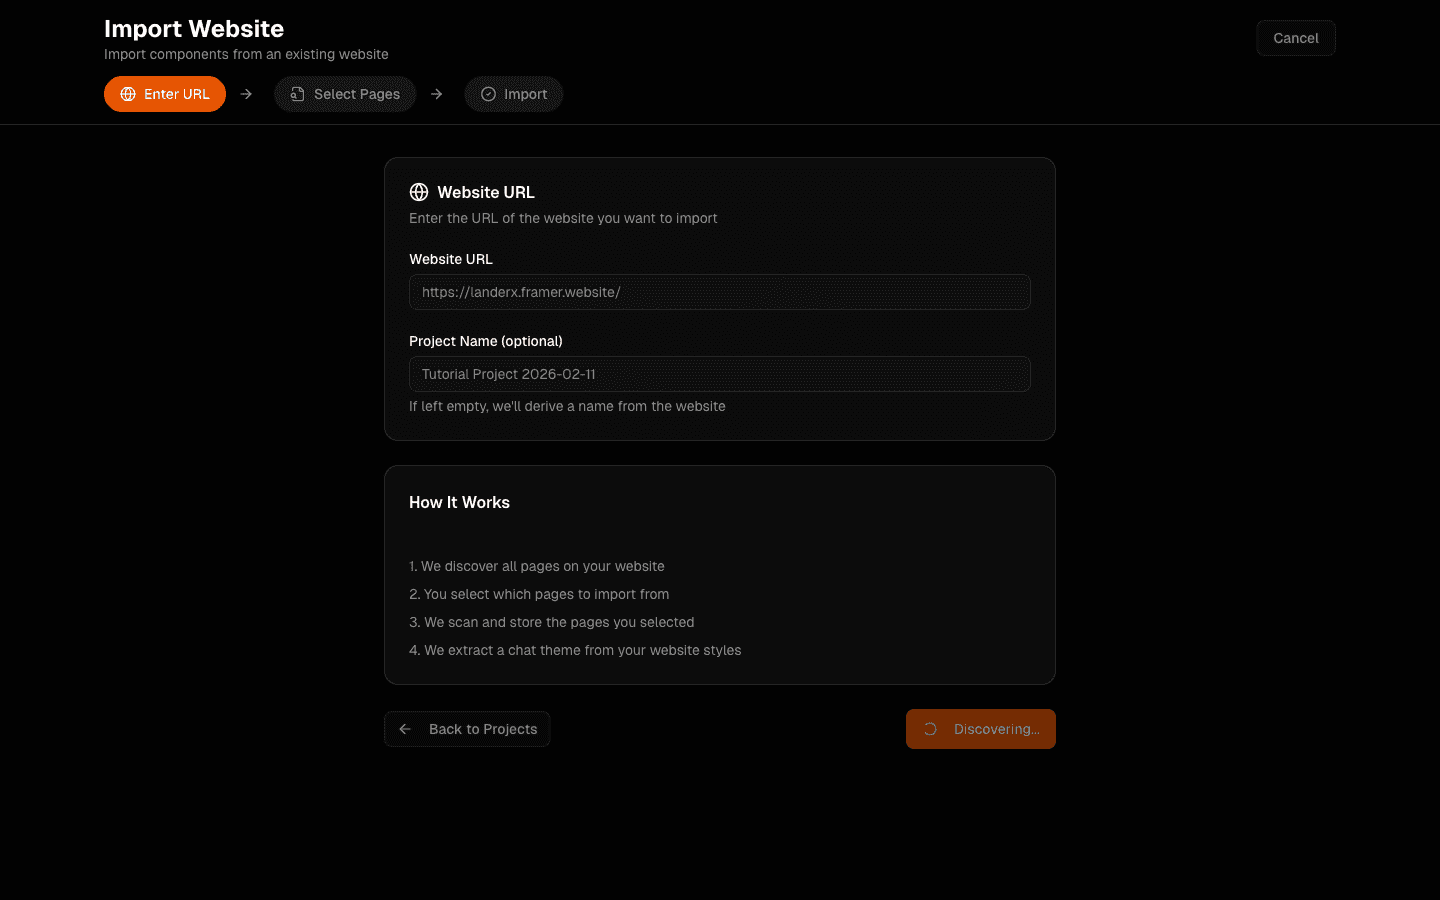
Start discovery by clicking Discover Pages.
Why this helps: this tells Web42 to map your site structure so you can choose what to scan and use.
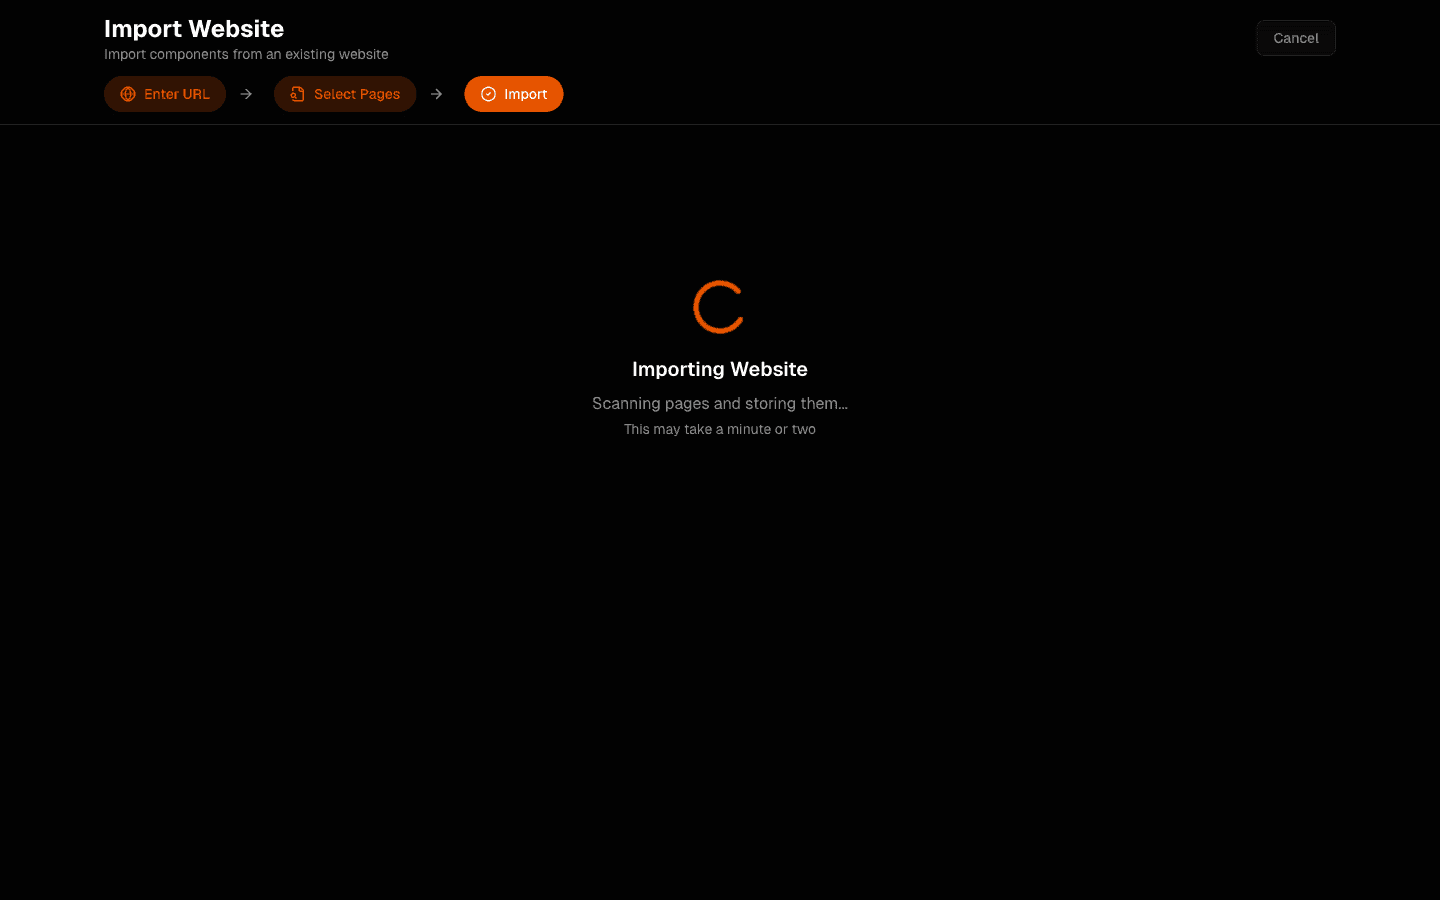
In Select Pages, scan a small set first (for example, one core page).
Why this helps: starting small gives you a faster feedback loop and helps you understand the platform behavior before importing everything.
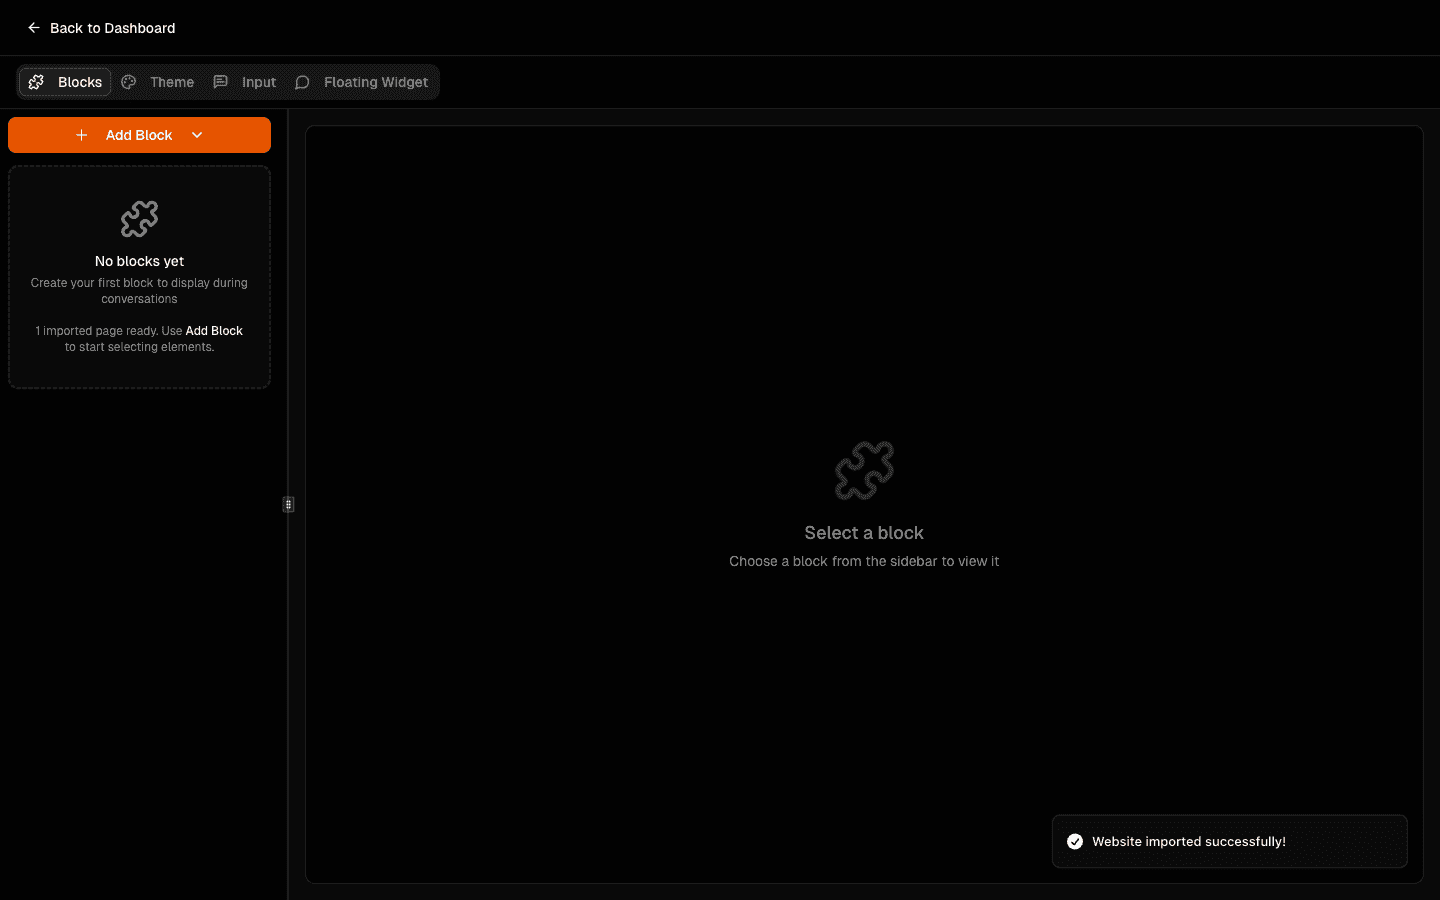
Confirm import completion in the workspace.
Look for completion indicators and a successful project view.
Why this helps: this ensures your project is ready for block and tour creation.
Verify you can access
My ChatandBlocks.Why this helps: this confirms your first project is in a practical state for the next setup steps.
Before you move on
If you want to expand your project with more sources later, follow: How to Add More Pages to Your Components.
Next step: How to Create Components in Web42.