How to Create a Tour That Converts for Your Website
Build a Web42 tour that explains your product clearly, keeps users engaged, and guides them to the next action.
Once your components are ready, it is time to build the narrative you want users to follow.
A tour in Web42 is similar to a presentation: each component is the slide, and the script is your speaker note.
You control the sequence, the tone, and exactly how your product or service is explained. If you discover missing context while writing your tour, add more source content with How to Add More Pages to Your Components.
What makes a good tour
It focuses on key components, not every section of the site.
It explains context on top of content, instead of repeating what is already visible.
It gives users a clear next action at the end.
Step-by-step
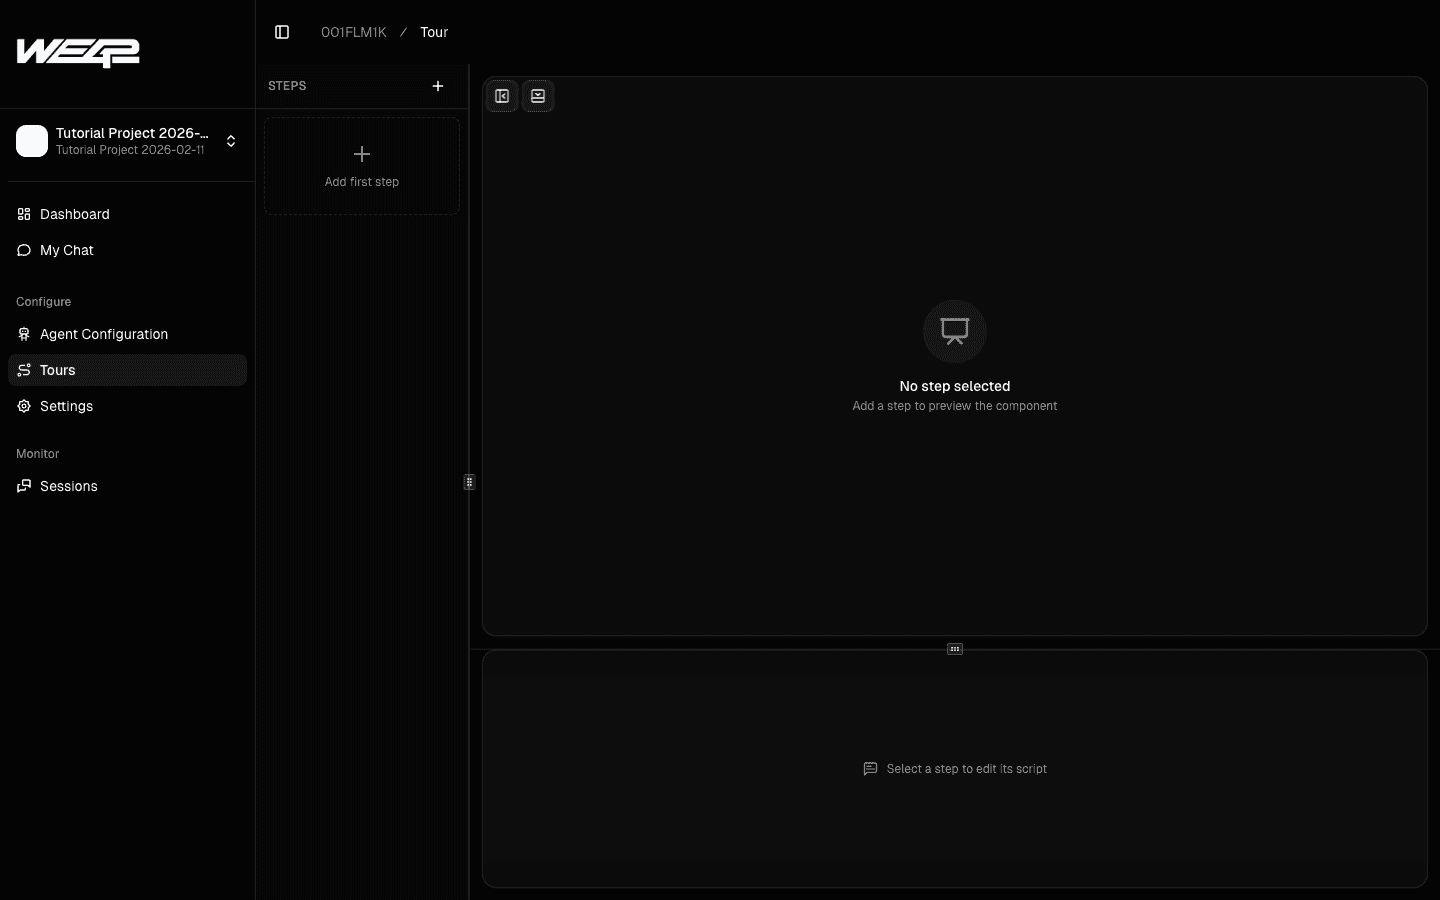
Open the Tours section in your project.
Why this helps: it keeps your narrative in the same workspace as your blocks and scanned pages.
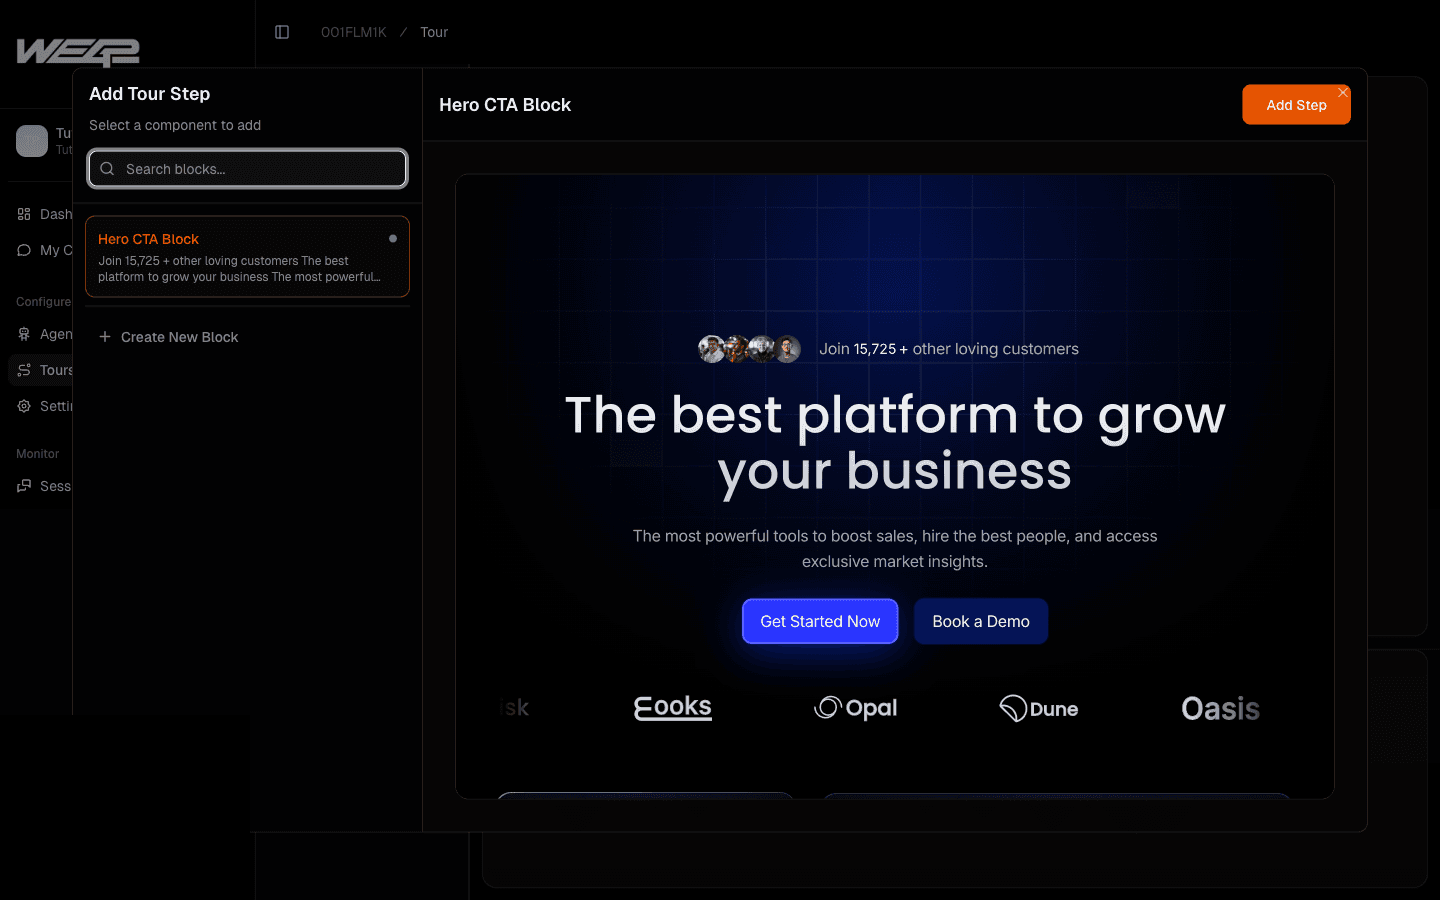
Click Add first step and choose a component.
Start with a high-value component that introduces your core idea clearly.
Why this helps: a strong first step improves understanding and keeps users engaged.
Add the step and confirm sequence order.
Why this helps: order is the narrative logic users will experience.
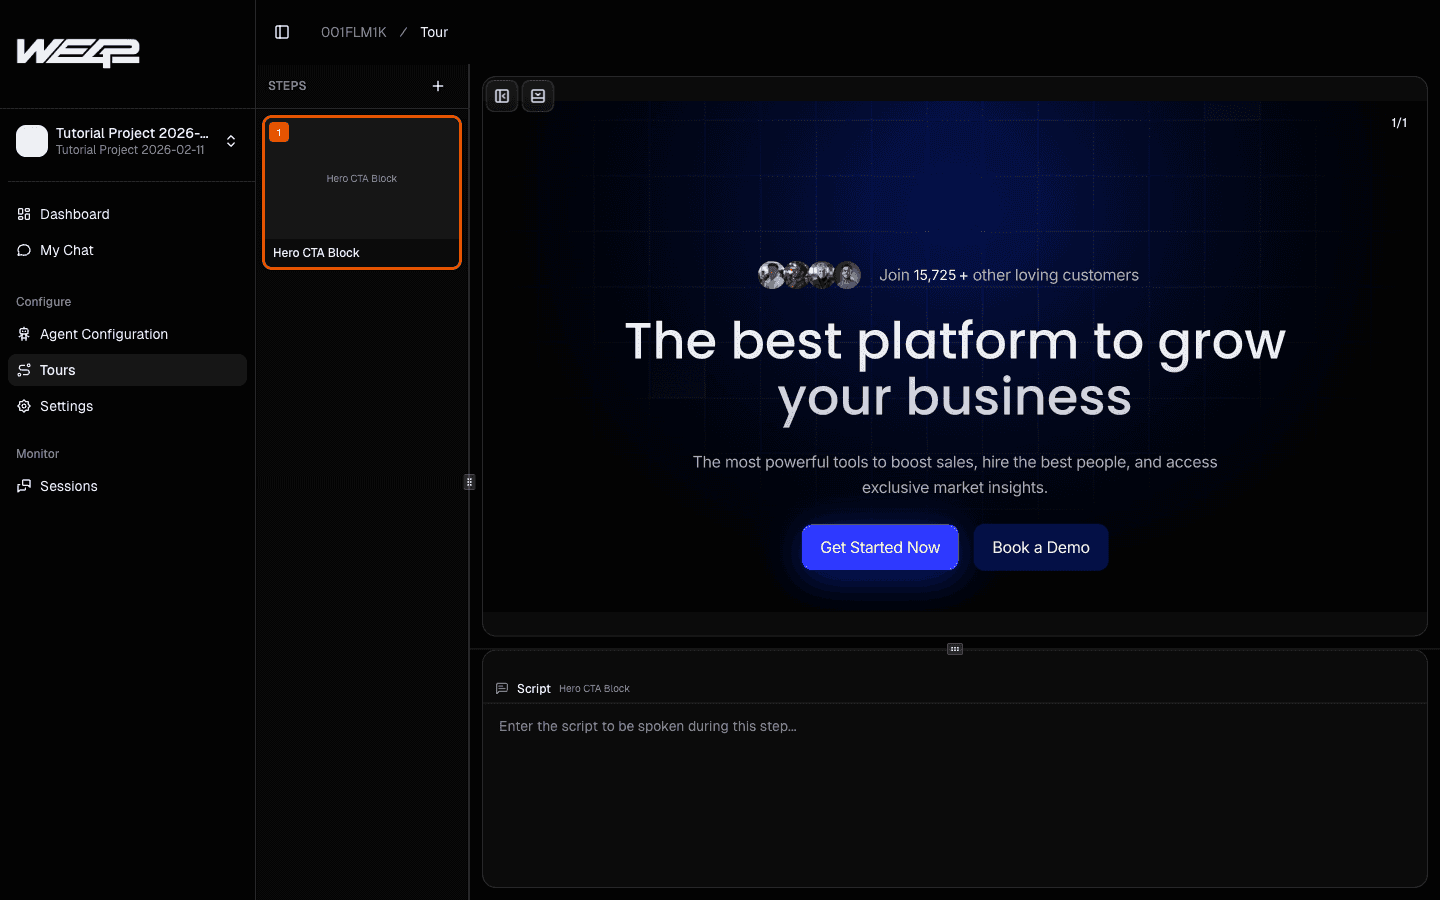
Write the script for the selected step.
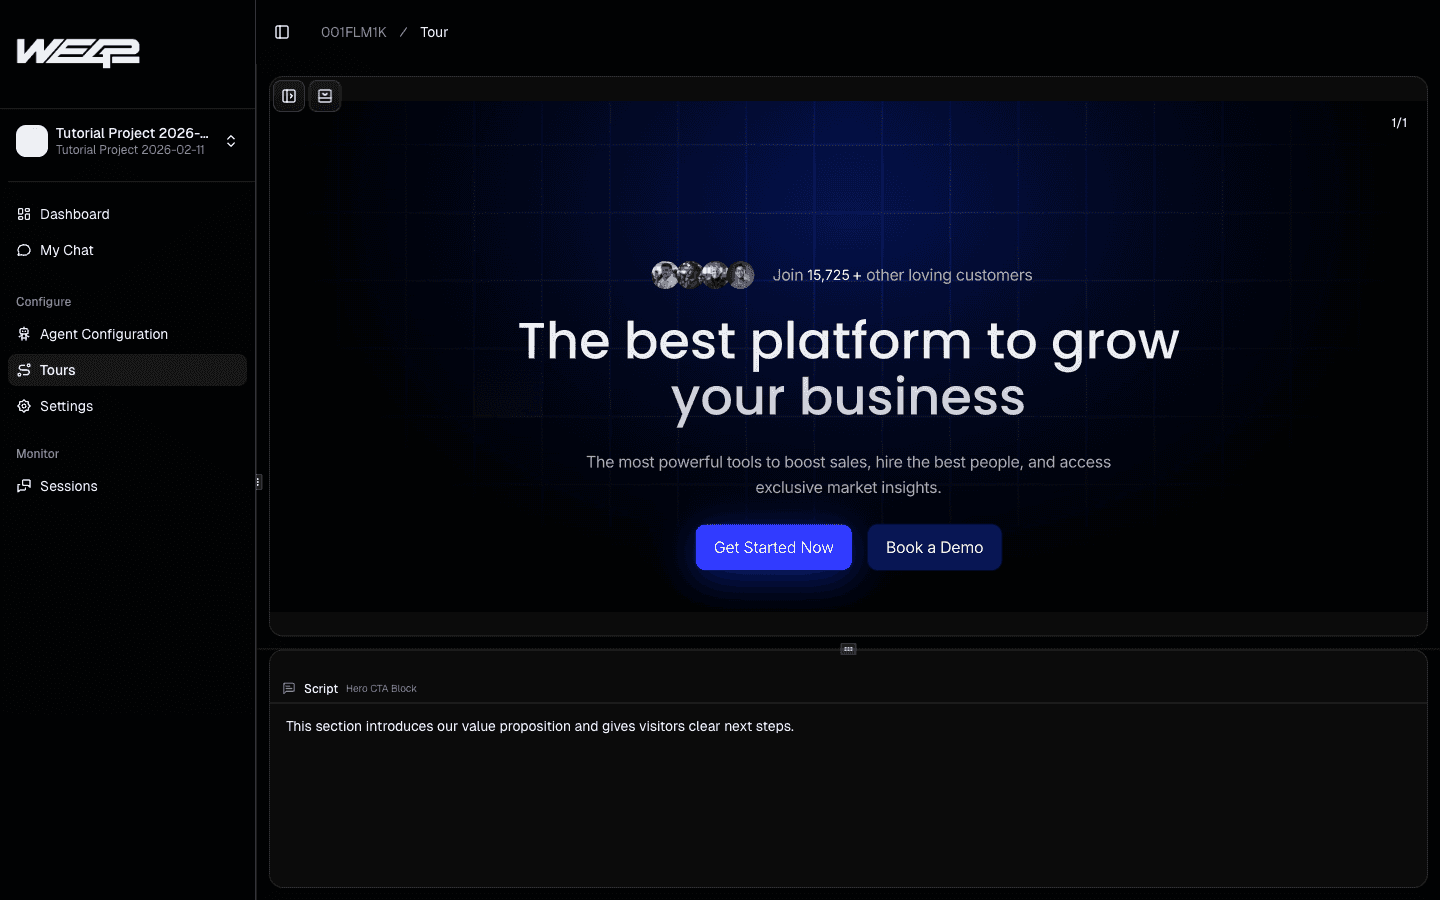
Keep the script focused on explanation and guidance, not duplication of on-screen text.
Why this helps: users get extra value from your narrative instead of hearing the same content twice.

Validate in preview and refine wording.
Also add moments where users are invited to ask follow-up questions.
Why this helps: interactive moments improve engagement and let users explore deeper details when needed.
Best practices
End the tour with a clear path: try product, contact team, or book a demo.
Keep each step focused on one idea.
Let the agent handle follow-up questions and return to the tour flow.
After your script is ready, publish it using How to Deploy Web42 on Your Website (Inline vs Floating).
Related guides:
How to Add More Pages to Your Components
How to Deploy Web42 on Your Website (Inline vs Floating)