How to Create Components in Web42
Learn how to create clear, standalone components in Web42 and connect related sections for better user guidance.
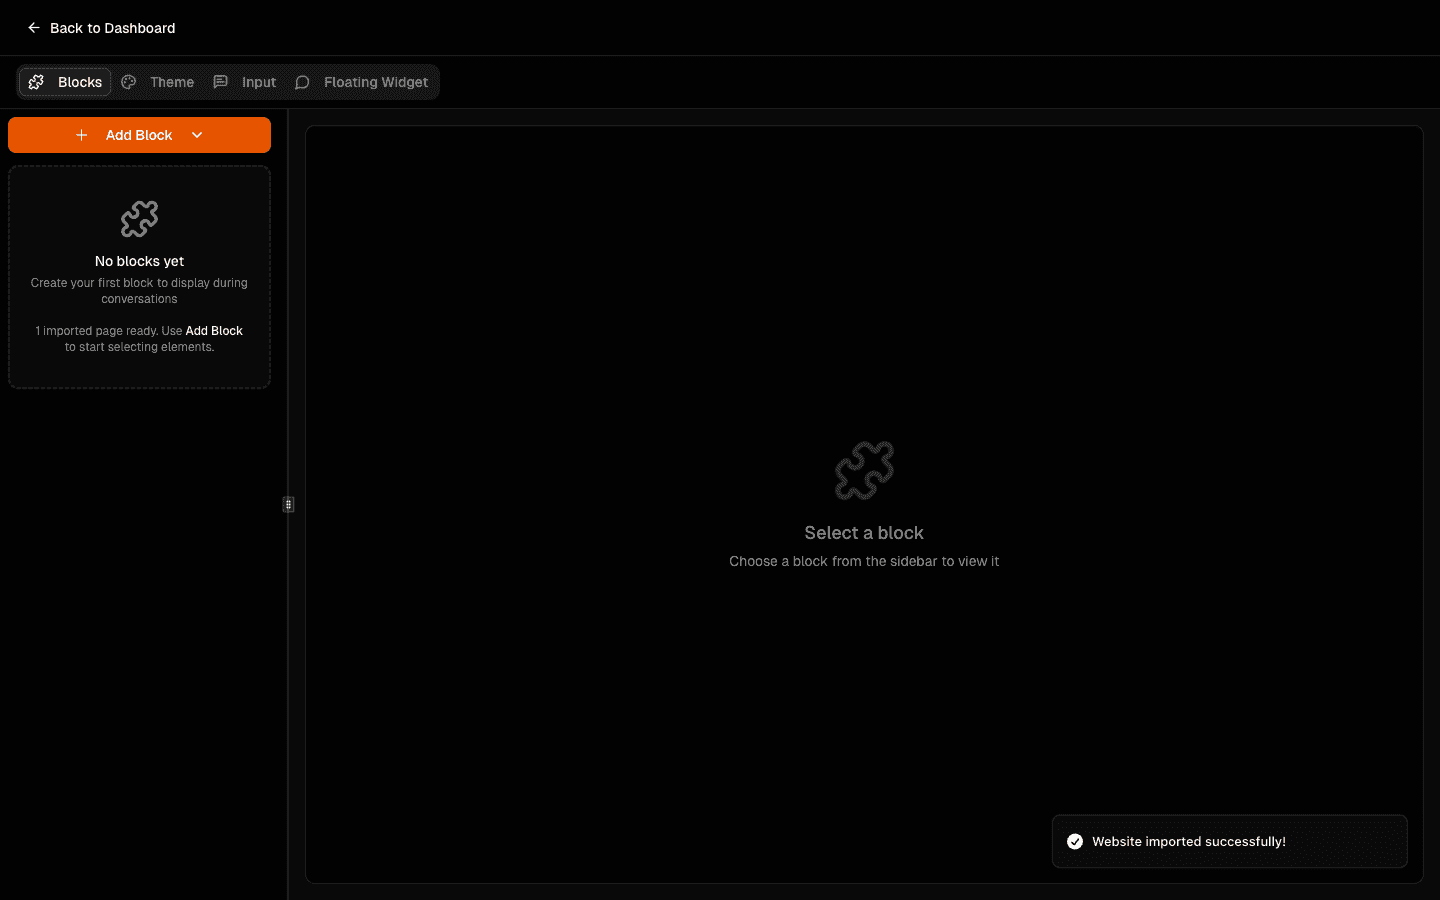
Now that your first project is ready, the next step is creating components (blocks).
A block is a standalone section of your website that helps explain one specific idea to visitors. Think of each block as a unit of explanation that the assistant can reference clearly.
The goal is not to create many blocks. The goal is to create useful blocks.
How to choose good blocks
Do not go too broad: a giant block is usually hard to explain.
Do not go too narrow: splitting a key section into tiny fragments usually loses context.
Aim for one block per meaningful concept (for example, value proposition, pricing summary, feature proof).
Step-by-step
Open your project in
/chatand go to the Blocks tab.Why this helps: this is the workspace where you define what the assistant can explain to users.
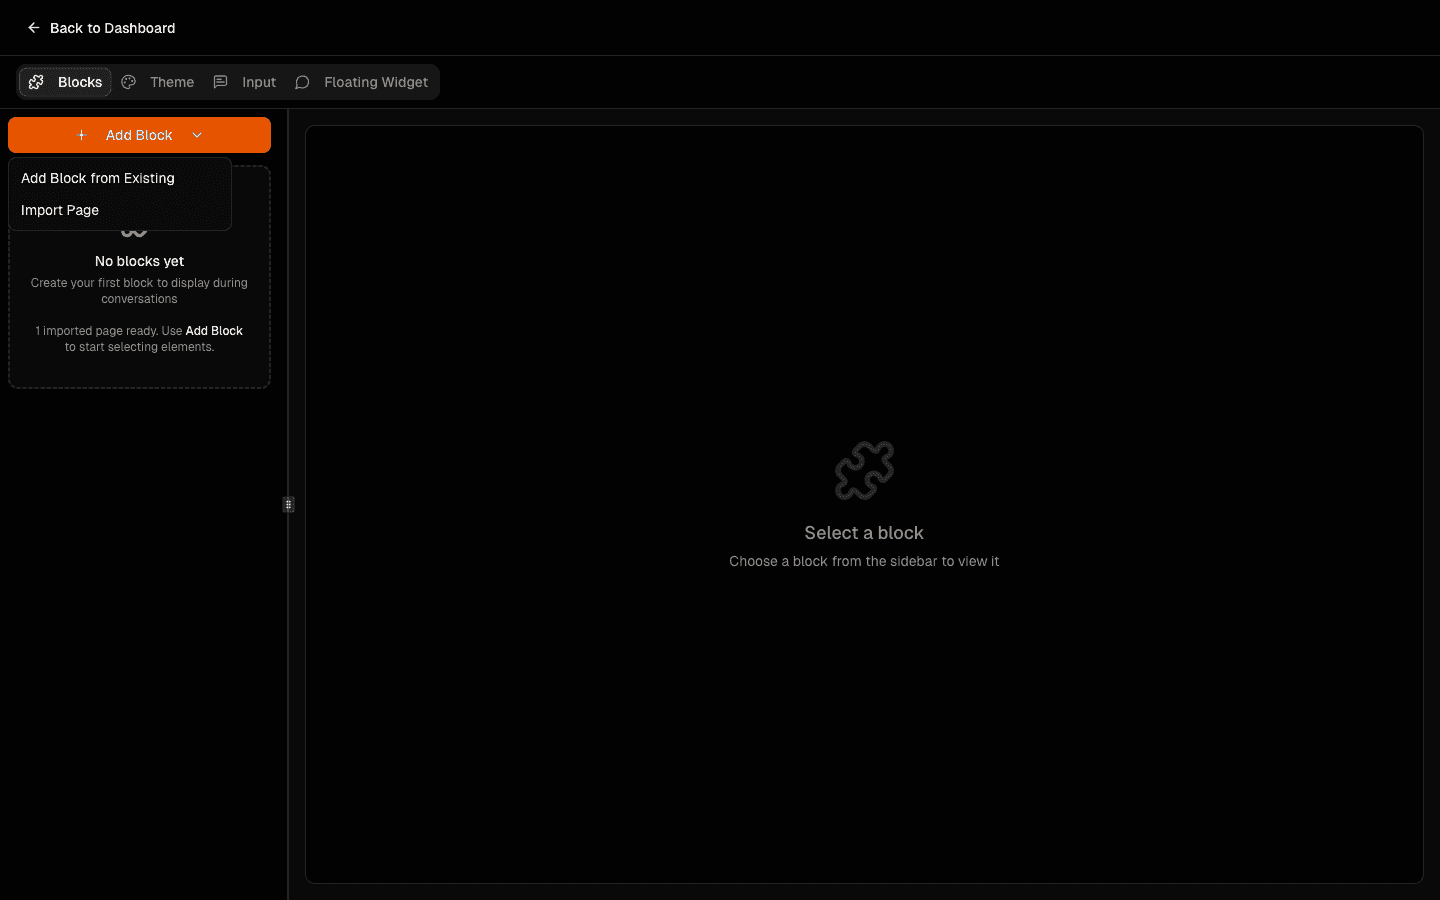
Click Add Block and choose Add Block from Existing.
Why this helps: you can reuse sections from already scanned pages instead of rebuilding context manually.
Select sections directly on the page preview.
Click to select or deselect sections until you have the right boundaries for each block.
Why this helps: visual selection makes it easier to keep each component self-contained.
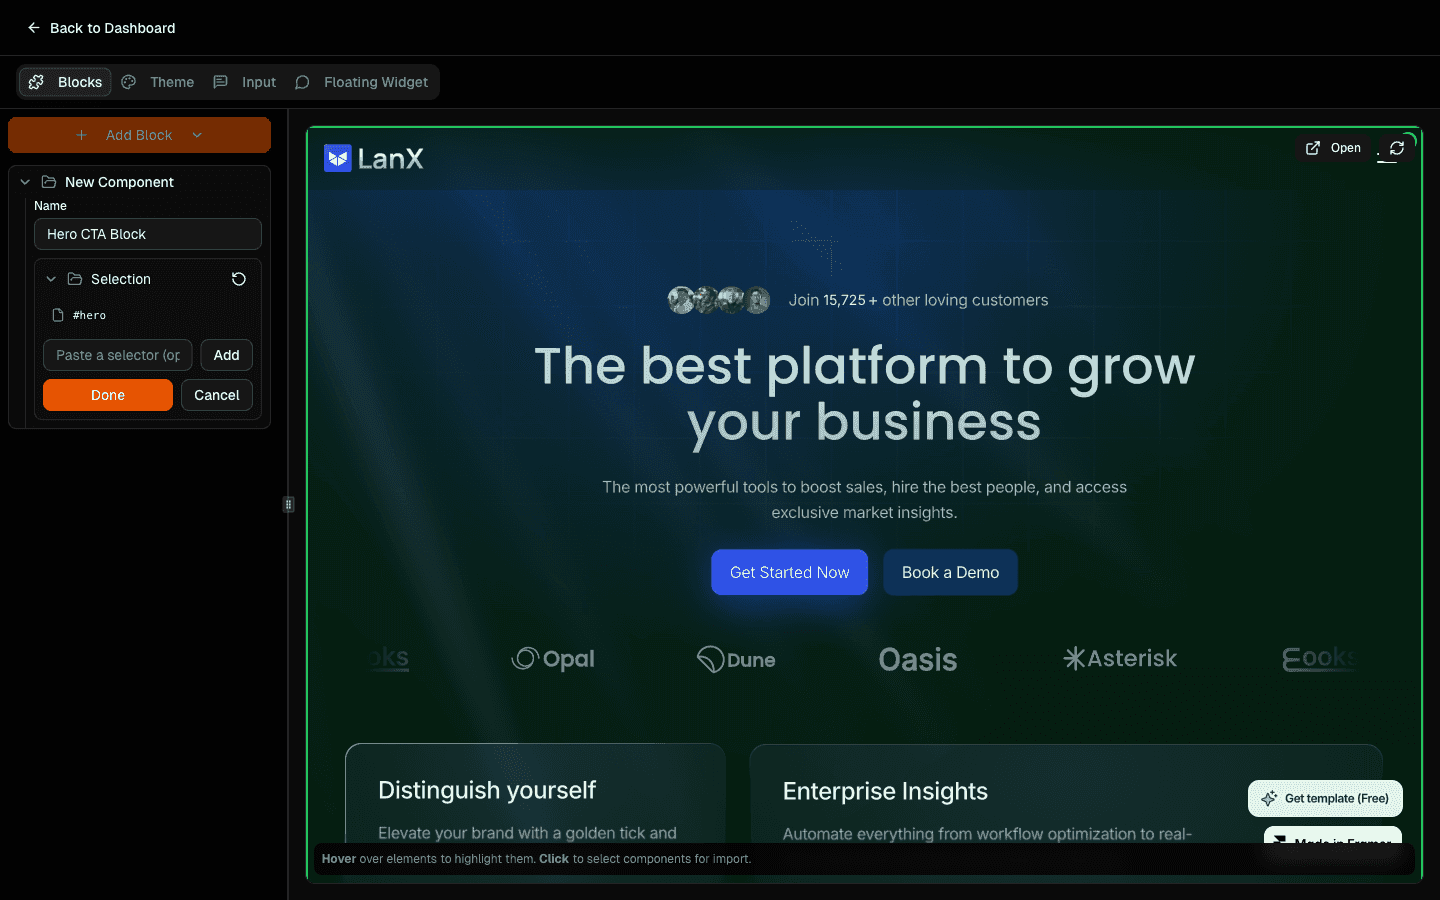
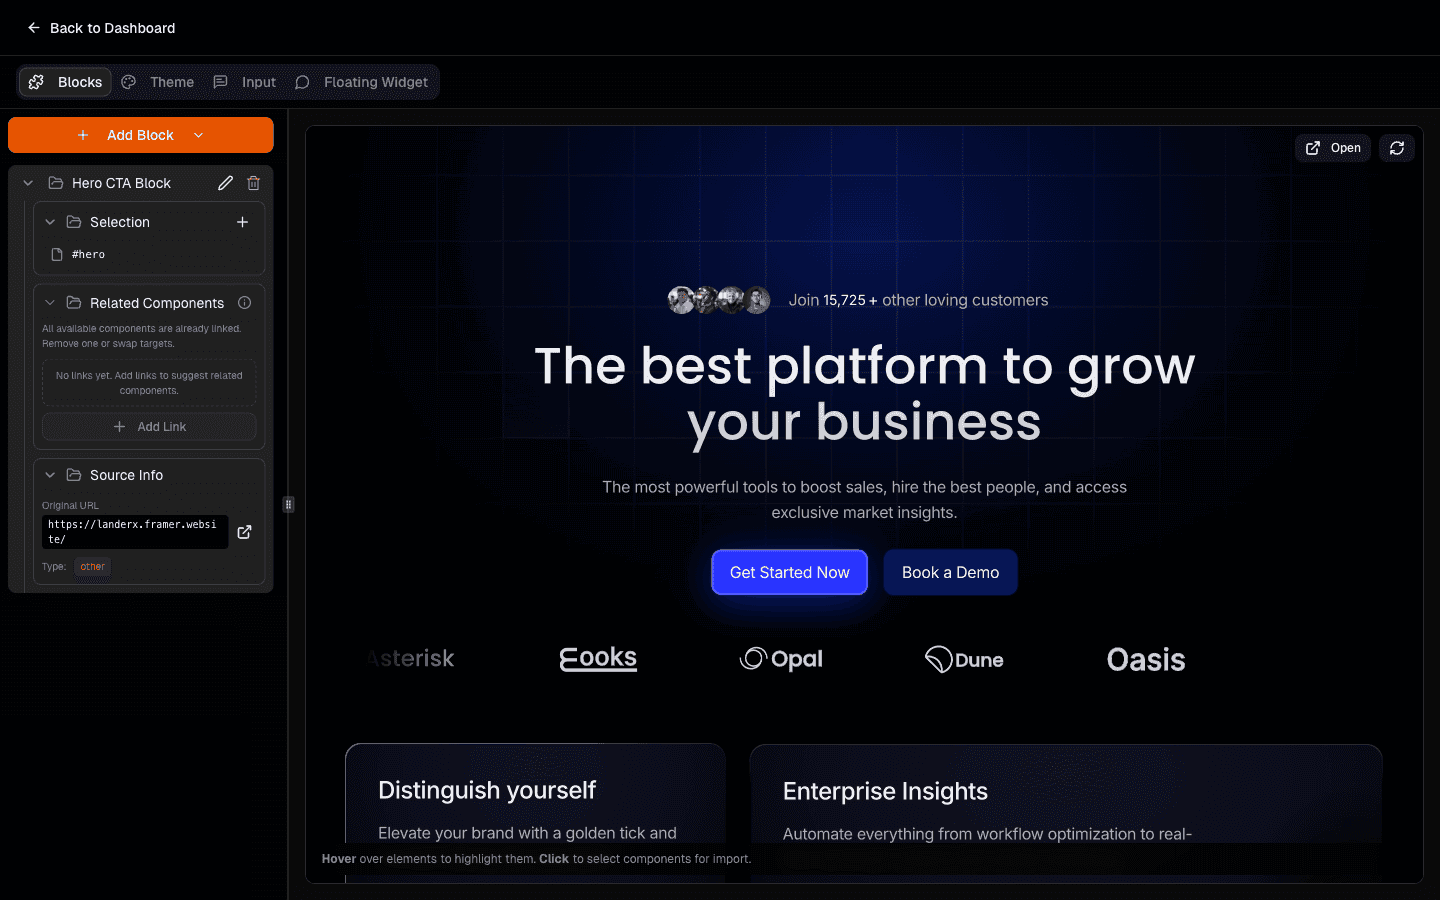
Save and review the block details.
Use clear names and verify selectors when needed.
Why this helps: better naming and clean selectors make tours and future maintenance much easier.

Add Related Components where useful.
Related components are shown as suggestions when users are viewing the current component.
Why this helps: you can guide users to relevant sections without forcing a rigid path, and it makes your tour setup smoother in the next stage.
Before you move on
Once your components are ready, you can connect them into a guided narrative.
If you need more source content before finalizing blocks, use How to Add More Pages to Your Components.
Next step: How to Create a Tour That Converts for Your Website.