How to Add More Pages to Your Components
Import more pages into Web42, including other domains, so your components and tours can cover more useful content.
Most websites are not single-page experiences, so your project usually needs more than the first import.
In this guide, you will add extra pages to your Web42 content base so you can build components from more sources.
This is useful when you want your assistant to reference blogs, docs, support pages, or other high-value content. If you are still on initial setup, start with How to Create Your First Web42 Project.
When to add more pages
Add pages when users need context that is not in your initial scan, such as:
Feature details
Documentation explanations
Blog content and examples
Step-by-step
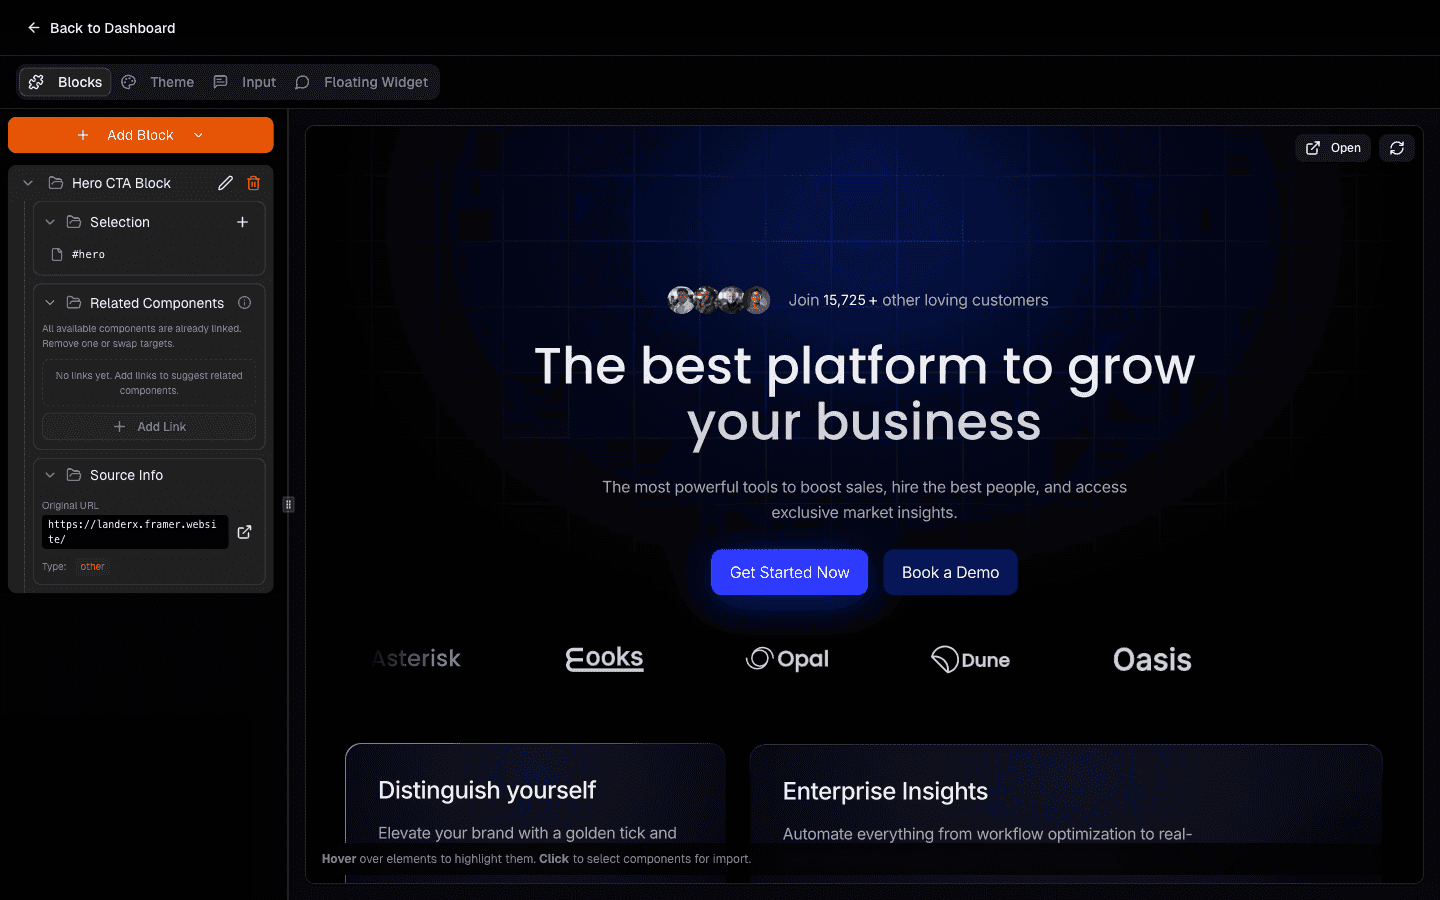
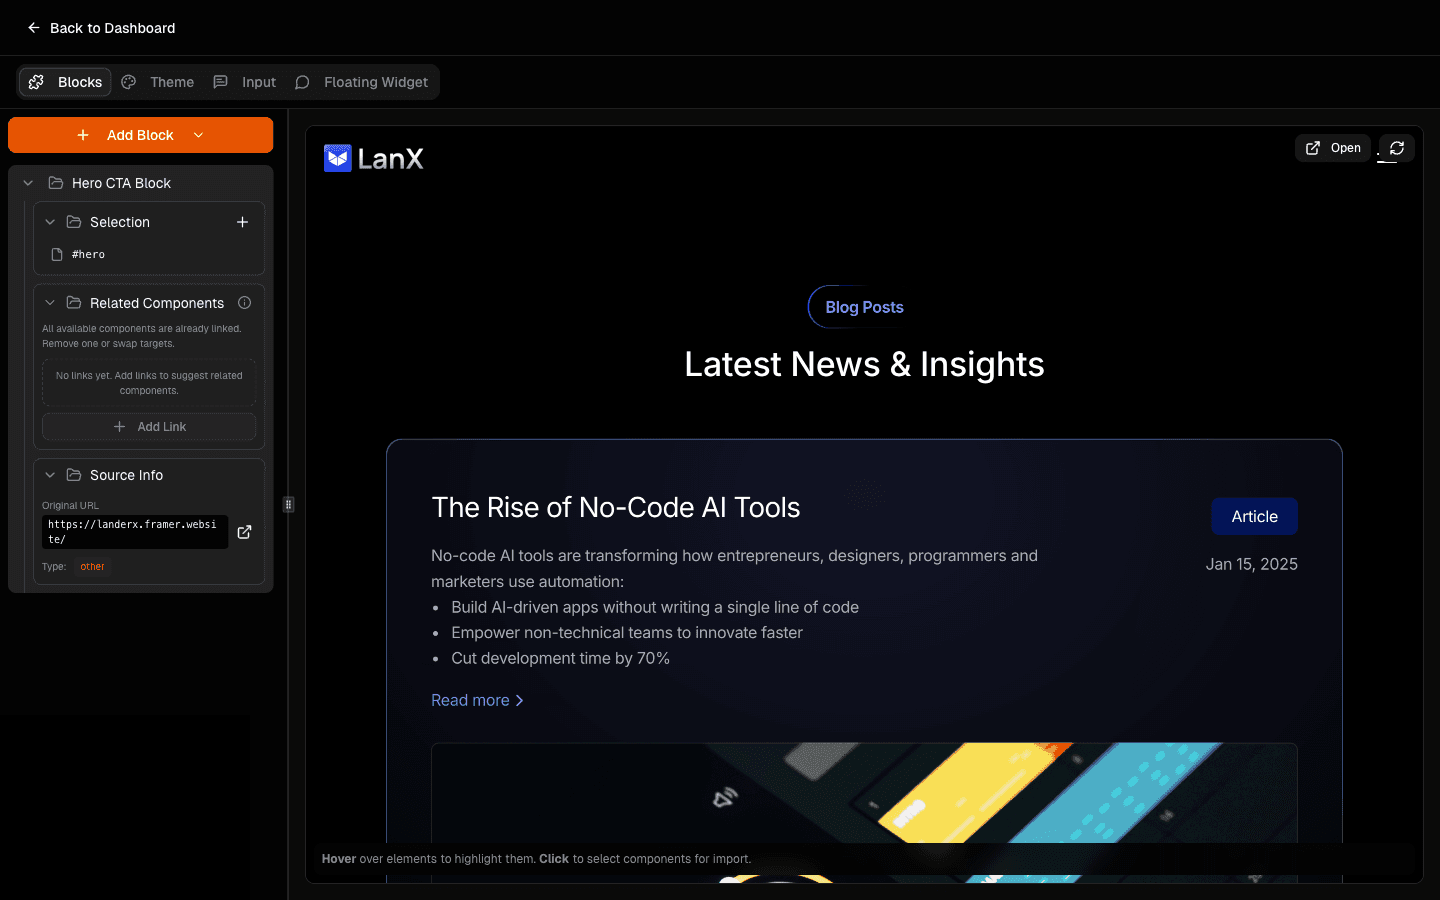
Open your project and go to Blocks.
Why this helps: this is where imported pages connect directly to component creation.
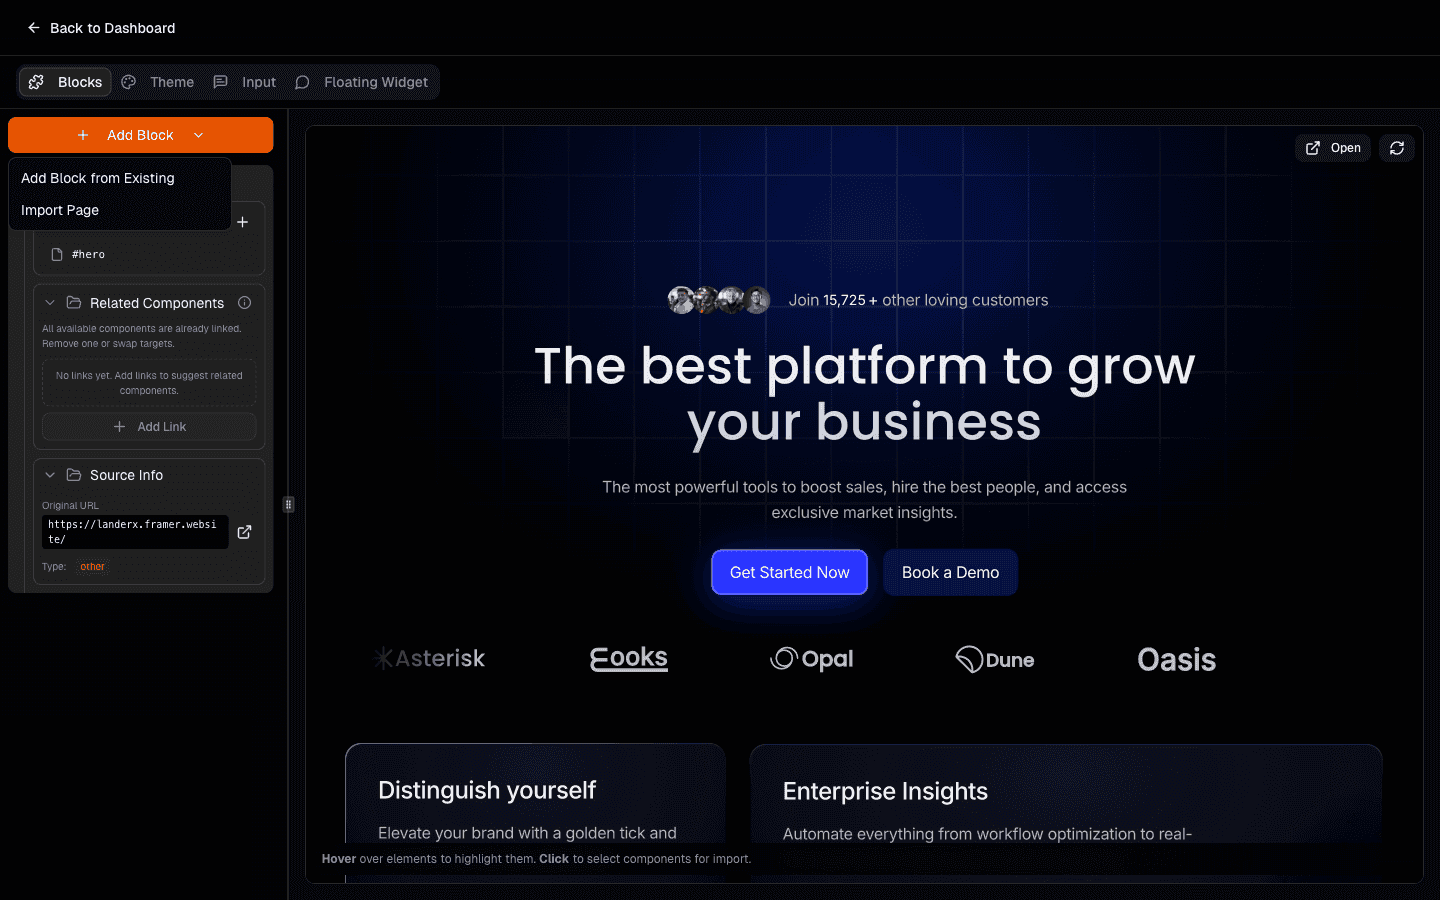
Click Add Block and choose Import Page.
Why this helps: this follows the same flow you already used in website import, but for specific new pages.
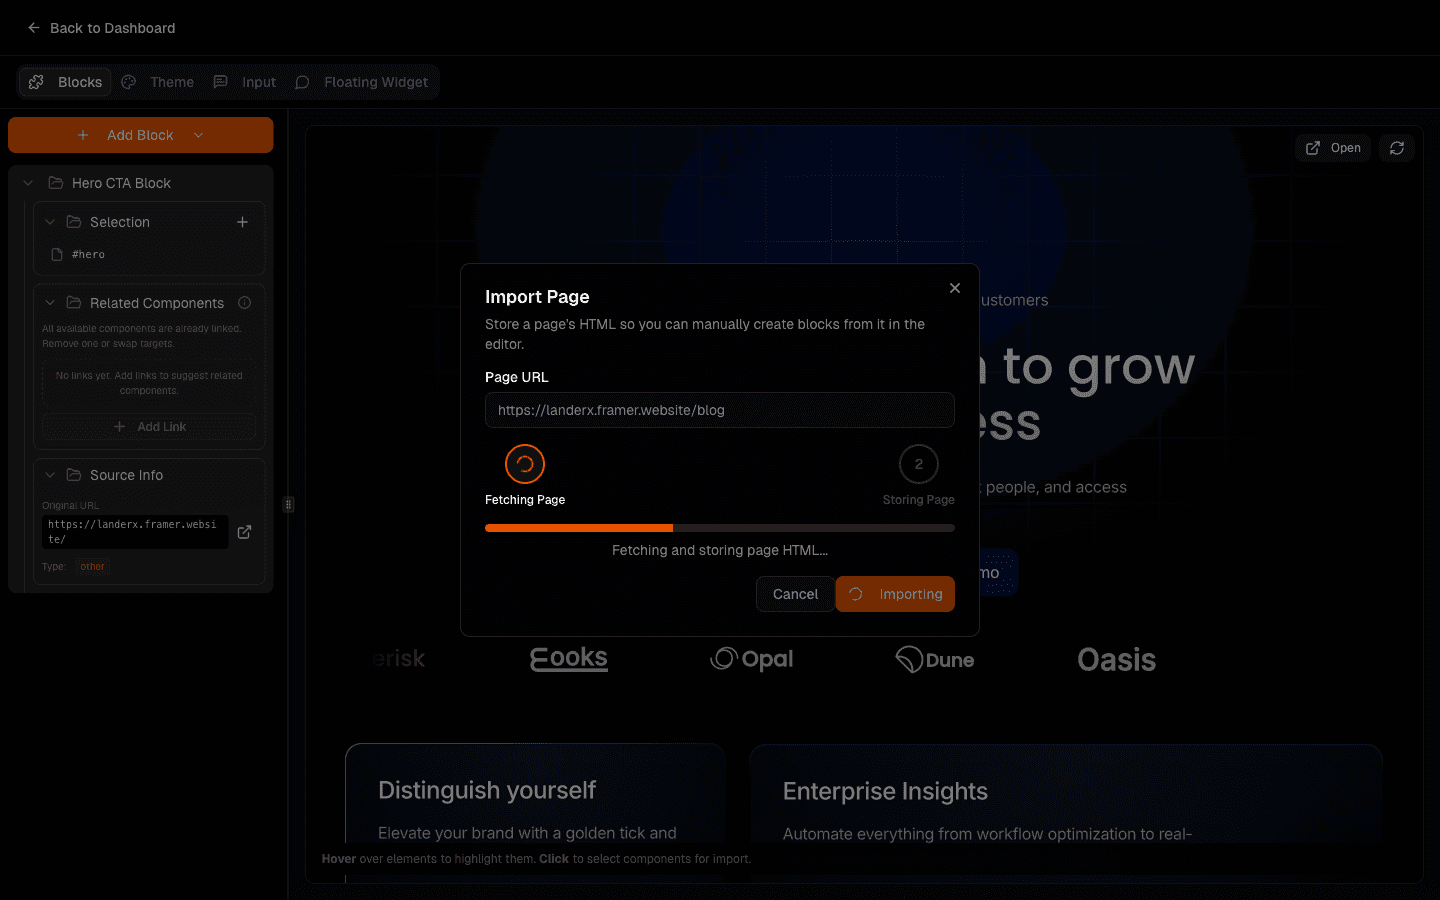
Enter the page URL and start import.
Why this helps: you can selectively expand your project without re-importing everything.

Follow progress until the page is stored.
Why this helps: once stored, the page can be used to create new blocks and improve answers.
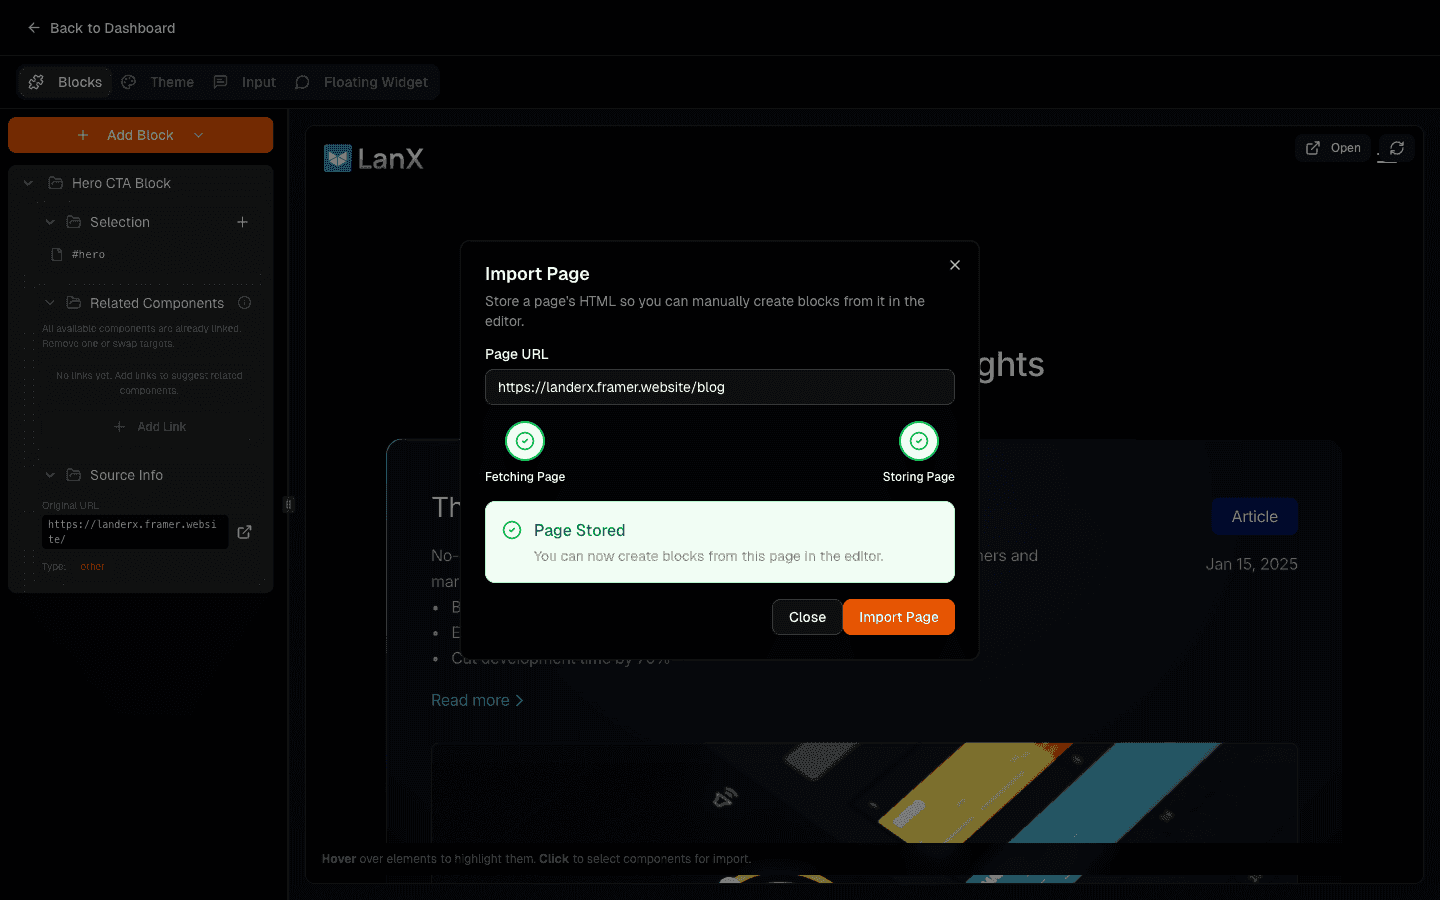
Confirm the new page is available for component creation.
Why this helps: you can now connect this content with your existing narrative.
Verify your existing blocks still work.
Why this helps: this keeps your current setup stable while you expand scope.
Extra tip
You can import pages from other domains too (for example docs or blogs) if they are valuable for your agent context.
After importing and organizing new content, you can roll it into your narrative with How to Create a Tour That Converts for Your Website.
Related guides:
How to Create Components in Web42
How to Create a Tour That Converts for Your Website